
Managing Phone Numbers & User Assignment in Team Mate Connect
This guide outlines the process for uploading phone numbers and assigning them to users within the ConnectToTeams portal after completing your initial registration and Direct Routing setup.
Phase 1: Uploading Phone Numbers in Bulk
Before starting, ensure your DIDs (Direct Inward Dialing numbers) are already assigned to your trunk within the partner portal.
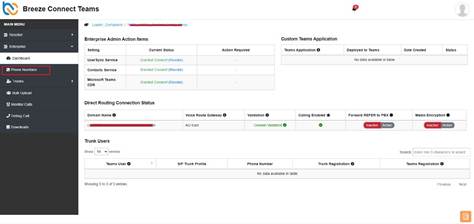
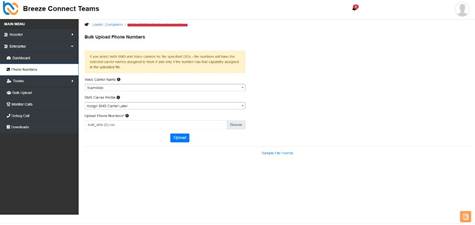
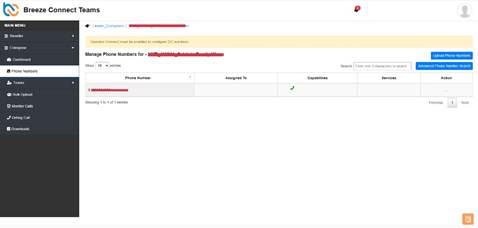
- Navigate to Phone Numbers: In the sidebar menu, go to Phone Numbers.
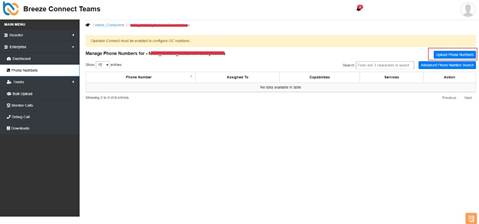
- Access Upload Tool: Click the Upload Phone Numbers button.
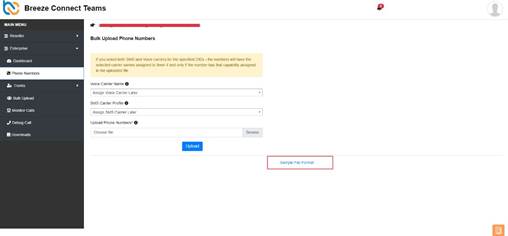
- Download Template: Click the Sample File Format link (in blue font at the bottom) to download the bulk_dids.csv file.
- Prepare the CSV File:
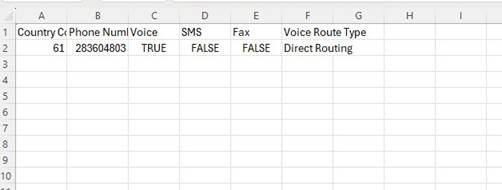
- Open the file and enter your phone numbers.
- Country Code: Change the country code from 1 to 61 for Australian numbers.
- Features: Set the Fax and SMS columns to false if those services are not being used for specific numbers.
- Submit Upload:
- Upload your edited CSV file. o Select Team Mate as your Voice Carrier.
- Select Assign SMS carrier later.
Phase 2: Assigning Numbers to Users
Once your numbers are uploaded, you must link them to specific users to enable calling.
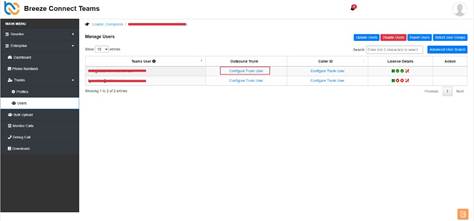
- Navigate to Trunk Users: Go to Trunks > Users.
- Configure User: Click the Configure Trunk User hyperlink next to the desired user.
- Assignment Details:
- DID: Select the phone number from the dropdown (this list pulls from the numbers you uploaded in Phase 1).
- Trunk Profile: Select the appropriate profile from the dropdown.
- Caller ID (CLID): Adjust the CLID settings if necessary, or leave them as default.
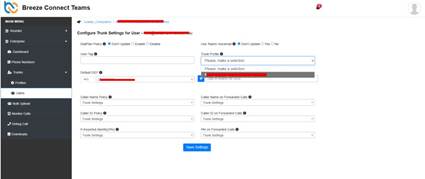
- Save: Click Save Settings.
Phase 3: Sync and Activation
After saving your configuration, the Team Mate Connector must synchronize with the Microsoft Teams tenant.
- Timeline: The sync process typically takes 15 to 20 minutes.
- Verification: Once the sync is complete, the user will be able to make and receive calls through their Microsoft Teams interface.